For this week I’ll be talking about how I did the second enemy and how I got it to work like I wanted despite some initial problems.
For our game we needed more enemies and I thought about an enemy that would constantly chase the player until it would kill us or get shot by us. To do this I had to read up on different functions that would be able to do it.
Since I knew that the function of “transform” would be the most relevant thing to start with as it deals with where game objects has it position and rotation in the game.
I found that by using the tag system in Unity i could set the enemy to chase the player by setting a “FindWithTag(Player)” transform and using “transform.LookAt()” that tag.
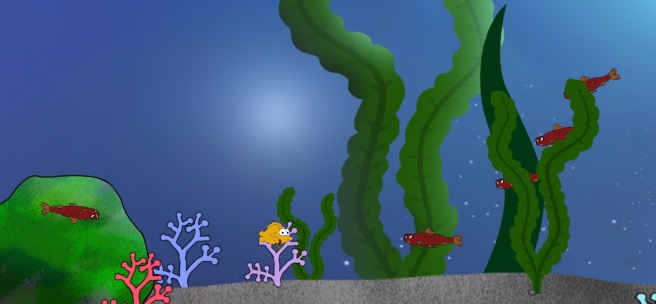
Using this was successful for the basic movement of chasing the player. At this point I only had placeholder enemies that were 3D objects as it were easier to implement and i didn’t know about how to put in sprites, so at first it seemed to work pretty well.
From the other enemy that only moved straight I had basic movement already functioning but for this new one it didn’t work as well as I wanted. The chasing enemy would fly around the screen at a set speed and fly out of the game area and get deleted when it left the boundary. So what I first did was put in a border script where the enemy couldn’t leave the game area but since the speed was set at a set speed it looked pretty bad as it would crash in a wall and stay there for a while until it turned around towards the player.
I figured out that it was I had a set velocity on the gameobject that it looked so bad and learned that by using “AddForce” instead on the rigidbody of the enemy i could apply both angular and linear drag on the object. With this playing around with different variables I could get a better movement on the enemy as it would slow down after missing the player and turn around much better that before.
However after setting in a sprite on the enemy we saw that with the LookAt function the sprite would rotate 90 degrees so the middle of the sprite was the thing looking at the player and be practically invisible in the game as the sprite doesn’t have a depth or z value.
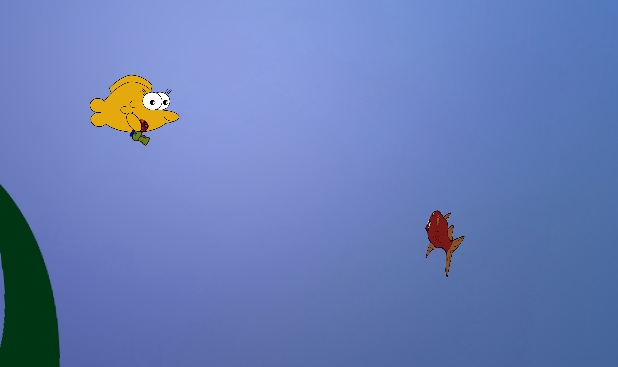
To fix this I set in a function that would rotate the sprite back so we could see the sprite which I found by using a “transform.rotation” function and using some of Unity’s mathf functions that would change the angle of the sprite.
This enemy was one of the hardest thing to figure out, but I definitely learned a lot from doing it. After getting over this hurdle I started getting more used with working in Unity and how to use it and it’s coding functions.

I think you have written a good post about the issue with the rotation and how you fixed it. It is clear of what it was and gave me a good view of the problem you’re experiencing. Also, the post goes just as deep that I as a reader would like it to to give me a good overview of the logic behind it. I feel like almost anyone could understand this eventhough they’re not a programmer which is good.
How you explain how you did further on to counter the issue was also good and gave me an image of how I could also do.
I actually had the same problem with the sprite rotating really weird like yours did and yea, the transform.rotation worked best for me aswell.
Good job! Hope that u keep up with the quality of the post for the coming weeks. Keep it up!
LikeLike